Table of Contents
Subnet Blocks
![]()
![]() Subnet blocks are hierarchical containers which main purpose is to model the IPv4 and IPv6 plans of a company or organization. They represent big chunks of IP space allocated to a geographical entity (region, country…) or reserved for given usage (WAN, Data Centre LAN, Office space…). They can hold subnet blocks or subnets.
Subnet blocks are hierarchical containers which main purpose is to model the IPv4 and IPv6 plans of a company or organization. They represent big chunks of IP space allocated to a geographical entity (region, country…) or reserved for given usage (WAN, Data Centre LAN, Office space…). They can hold subnet blocks or subnets.
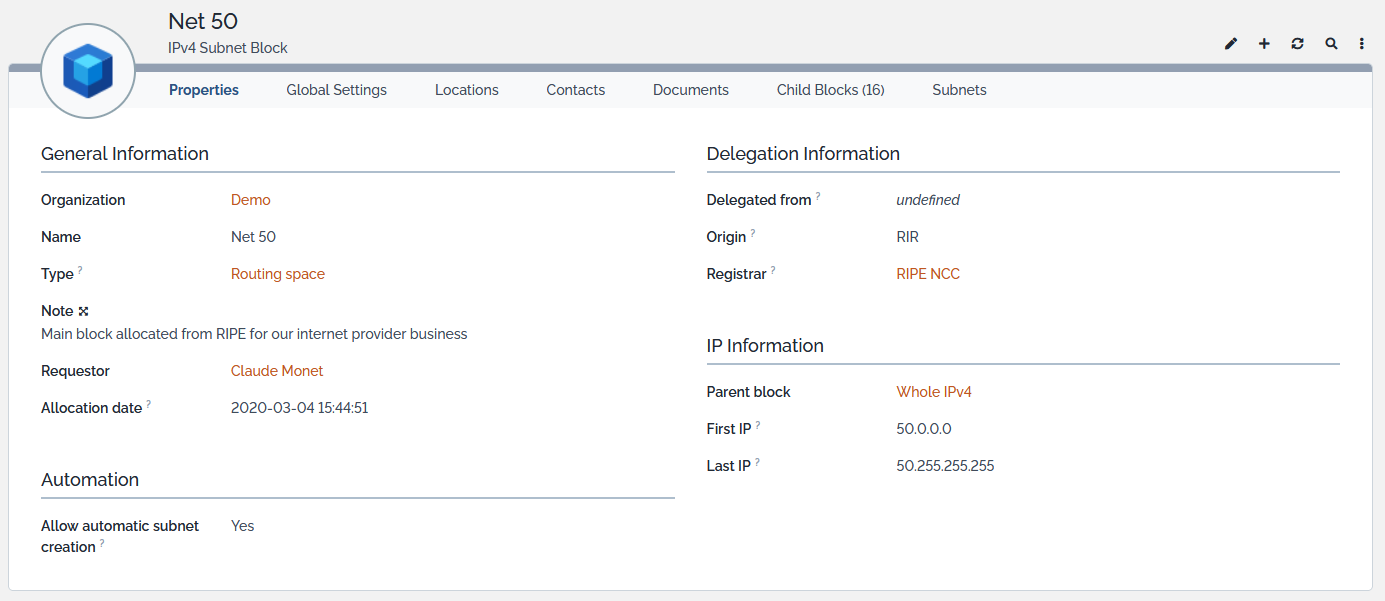
Subnet Block Properties
| Name | Type | Mandatory? |
|---|---|---|
| General Information | ||
| Organization | Foreign key to a(n) Organization | Yes |
| Name | Alphanumeric string | Yes |
| Type | Alphanumeric string | No |
| Note | Multiline character string | No |
| Requestor | Foreign key to a(n) Person | No |
| Allocation date | Date (year-month-day) | No |
| Automation | ||
| Allow automatic subnet creation | Possible values: yes, no Brought by the IP Request Management extension | No |
| Delegation Information | ||
| Delegated from | Foreign key to a(n) Organization | No |
| Origin | Possible values*: RIR, LIR, Other | No |
| Registrar | Foreign key to a(n) Organization | No |
| IP Information | ||
| Parent | Foreign key to a(n) Subnet Block | No |
| First IP | IPv4 or IPv6 Address | Yes |
| Last IP | IPv4 or IPv6 Address | Yes |
Tabs
| Tab | Description |
|---|---|
| Global Settings | Settings defined for the block's organization and values used at creation time |
| Locations | All the Locations related to the block |
| Contacts | All the known contacts for the block |
| Documents | All the documents linked to this Object |
| Notifications | List of related notifications - Present if a notification trigger exists for that class |
| Child Blocks | Subnet blocks strictly contained within the block and belonging to the same organization |
| Subnets | Subnets contained within the block and belonging to the same organization |
| Activity panel | History of all changes made to the subnet block |
Listing Subnet Blocks
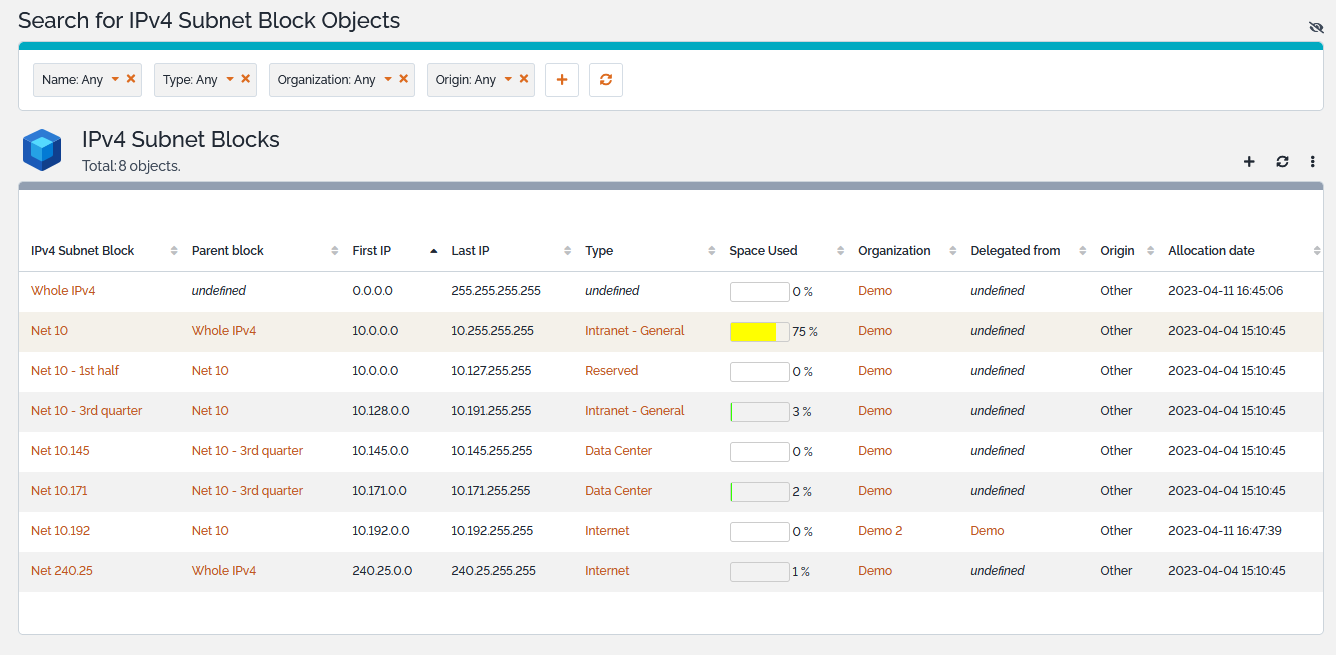
The Subnet Blocks shortcuts under the IP Management menu display all the IPv4 or IPv6 subnet blocks of the selected organization or all IPv4 or IPv6 subnet blocks registered in the application if no organization is selected.
The Space Used column gives the percentage of the subnet block that is already consumed by all the subnet blocks and the subnets attached to that block.
Displaying Tree
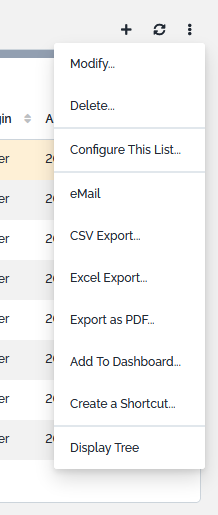
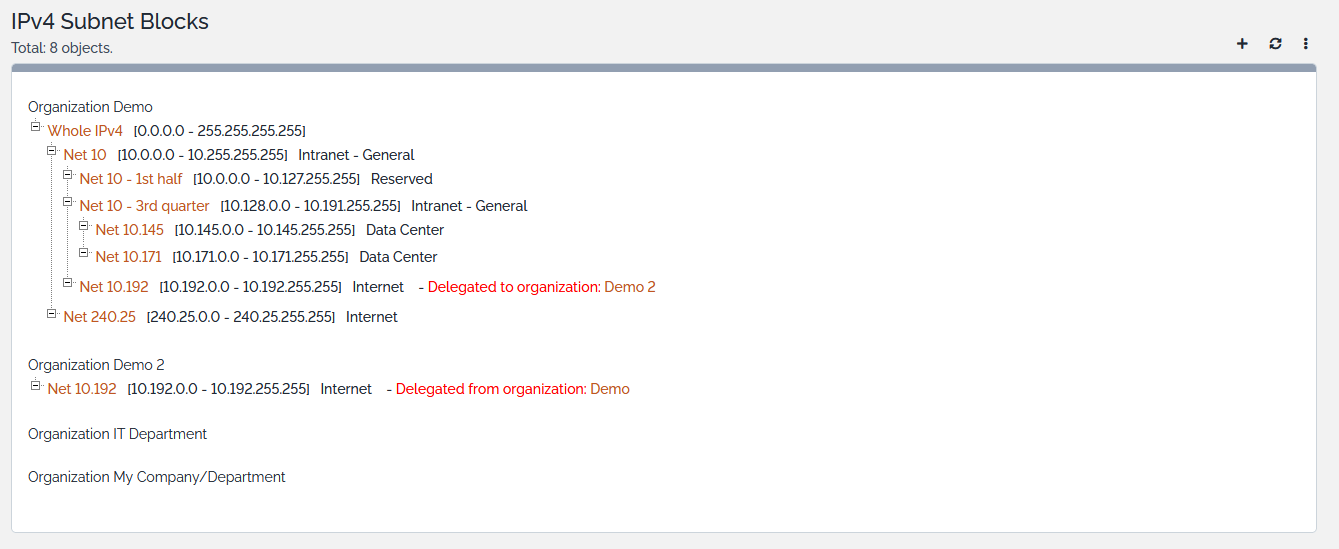
Display can be switched from the listing view to tree view through the Display Tree action in the Other Actions menu.
When no default organization is selected, a tree per existing organization is displayed. Otherwise, only the tree that corresponds to the selected organization is displayed.
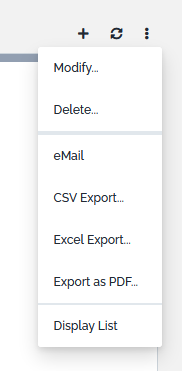
Display can be switched back to the listing view through the Display List action available in the Other Actions menu.
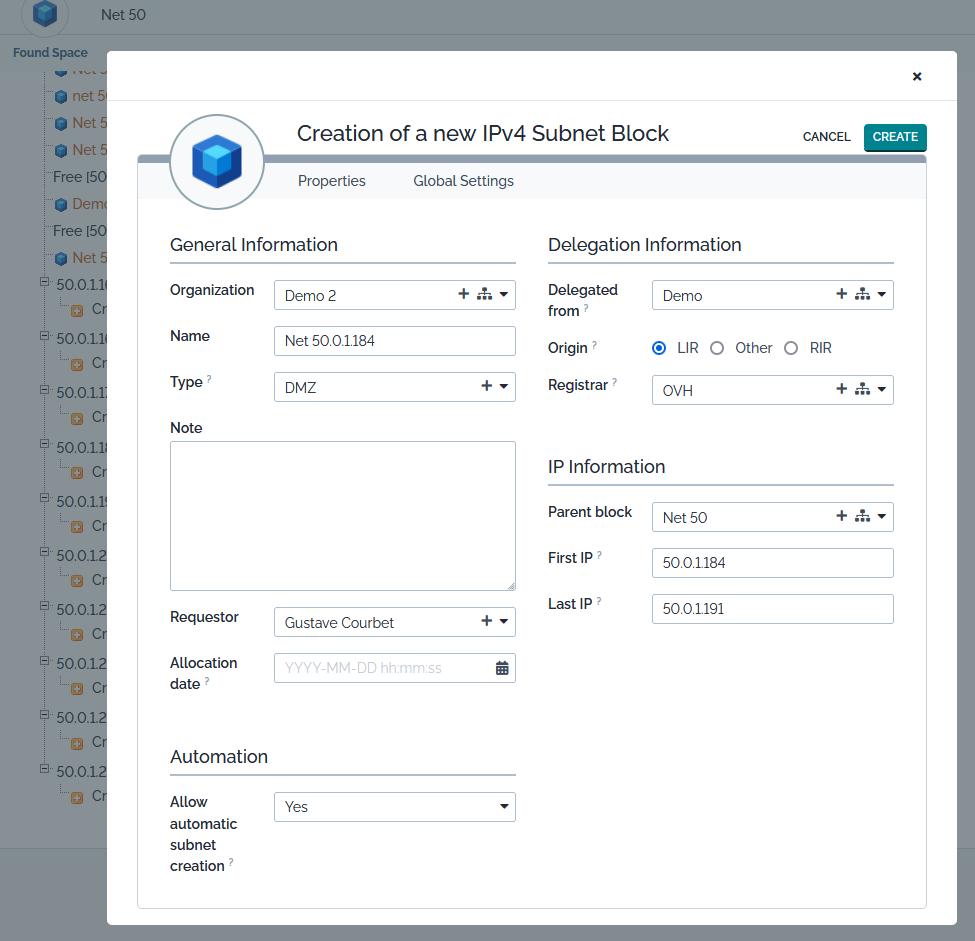
Creating a new Subnet Block
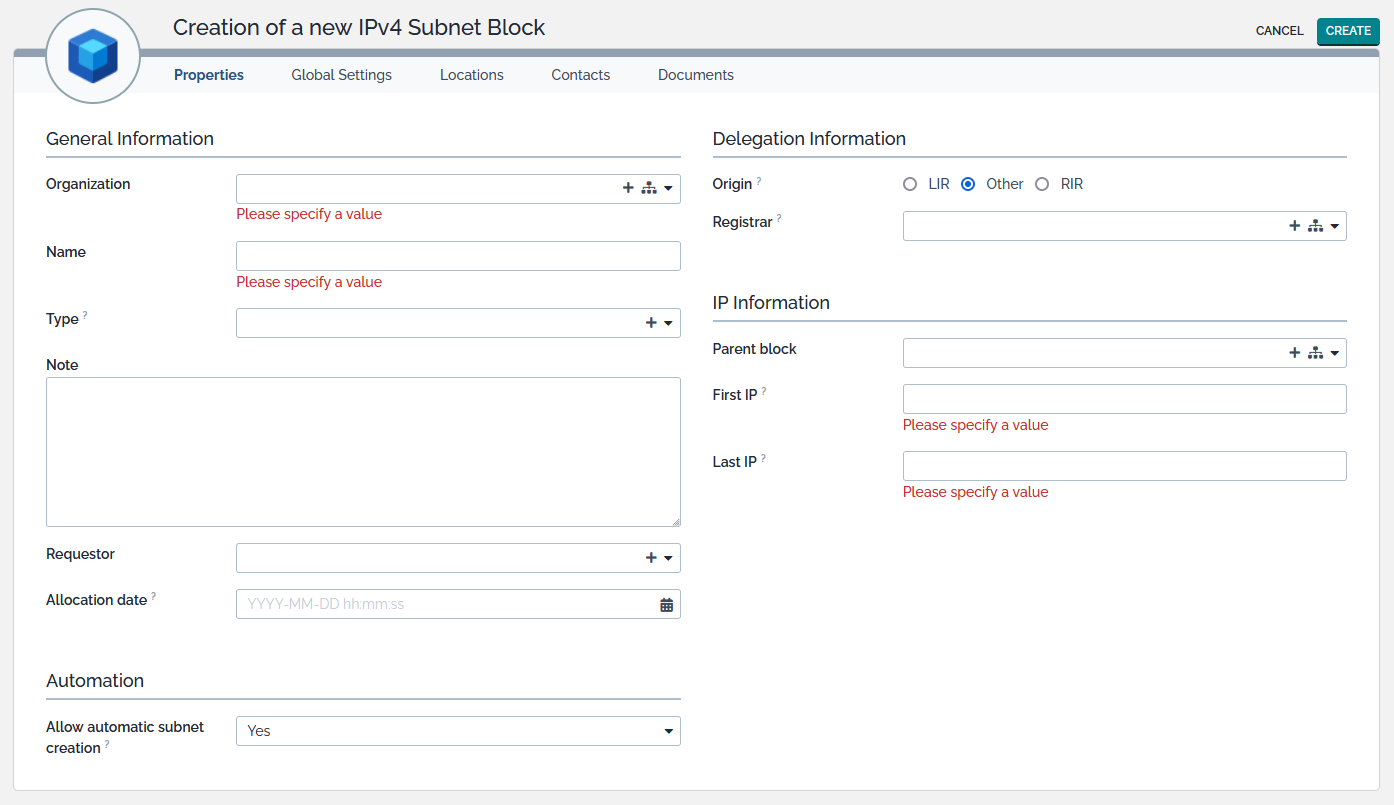
From the listing or tree view or from any create action of a subnet block badge, click on the  to display the creation form.
An implicit but intuitive set of rules must be followed when a subnet block is created:
- A subnet block belongs to a unique organization,
- A subnet block can be fully contained within another subnet block. We talk, then, about child block or parent block,
- Two blocks cannot share the same name,
- Two blocks cannot share common IP space unless one is fully contained within the other,
- If not set, Parent block is automatically computed when First IP and Last IP are defined.
Default parameters can be adjusted in the Global Settings tab.
- Organization settings recalls the default parameters defined for the selected organization. If required, these can be changed through the Global IP Settings of the organization.
- Subnet blocks settings holds the value that will be chosen for the block at creation time. These will be stored together with the block attributes and may be recalled later on, if the block needs to be modified for instance.
Displaying a Subnet Block
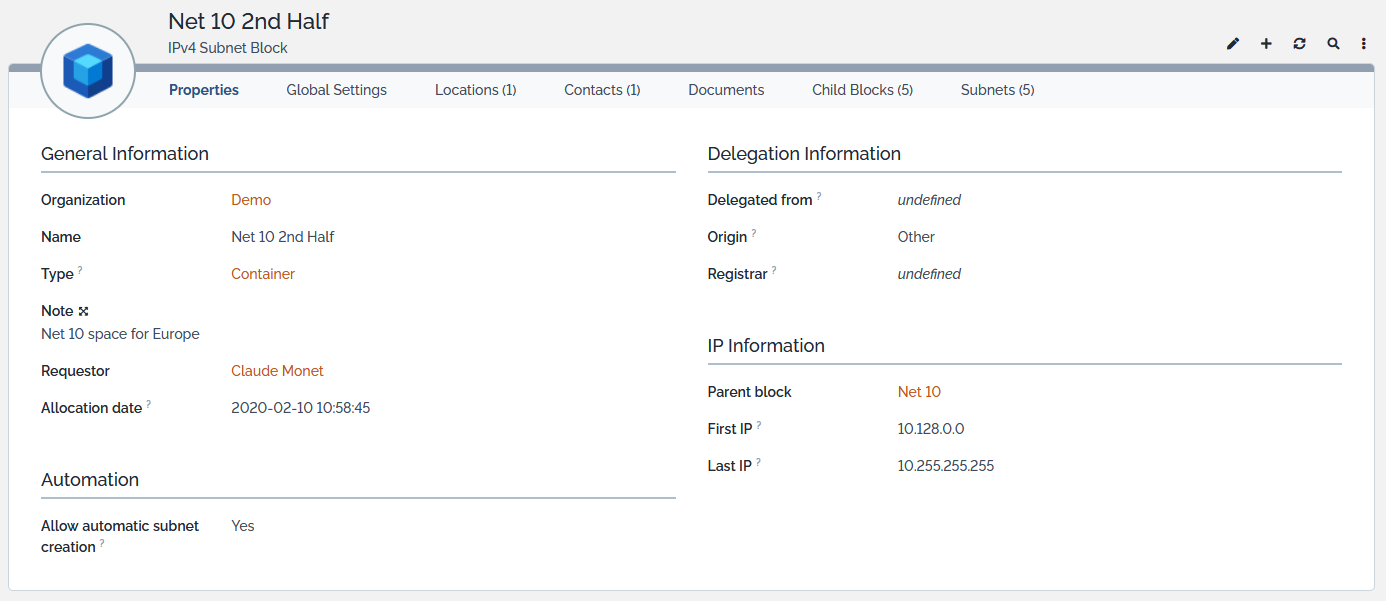
In a list of blocks, select the item you are interested in:
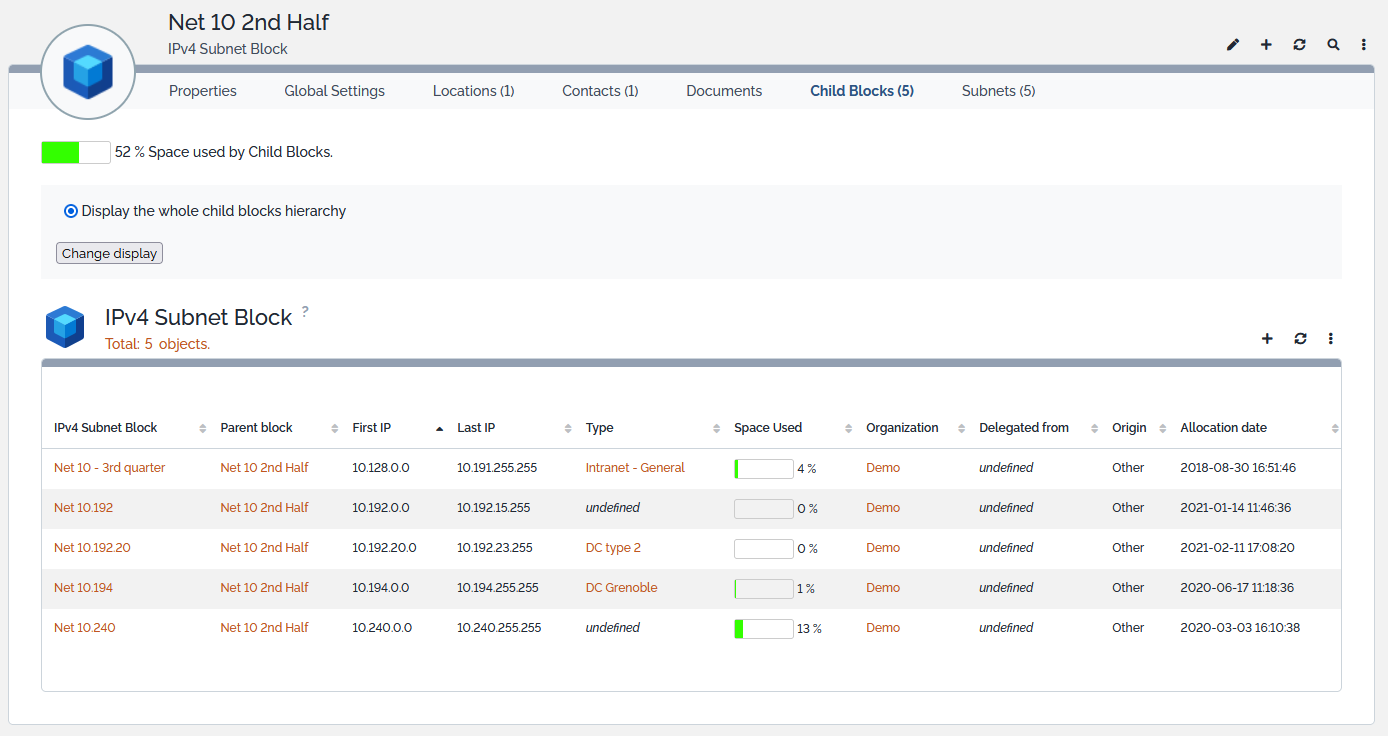
The Child Blocks tab displays the blocks that are directly or indirectly attached to the displayed block. A filter may be applied to that list through the Change display toggle button. Display may contain:
- Only the child blocks that are directly attached to the block,
- The whole child blocks hierarchy under the block.
Modifying a Subnet Block
From the detailed view of a subnet block, click on the ![]() button.
button.
Only a few parameters can be changed here: Name, Type, Note, Requestor, Allocation date, Locations, Contacts and Documents.
Navigating between adjacent Subnet Blocks
TeemIp provides an easy and efficient way to navigate between adjacent blocks. If the action is enabled, the left and rights arrows of the object menu ![]() will bring you to the previous or next registered subnet block in TeemIp. This action is driven by default parameters that can be overwritten in the configuration file.
will bring you to the previous or next registered subnet block in TeemIp. This action is driven by default parameters that can be overwritten in the configuration file.
	'teemip-ip-mgmt' => array (
		...
		'bloc_navigation' => array (
		  'enabled' => true,
		  'within_block_only' => false,
		),
                ...
        ),
| Parameter | Description |
|---|---|
| enabled | Enable or disable the function |
| within_block_only | Limit the navigation to the parent block that the block belongs to or not |
Other Actions
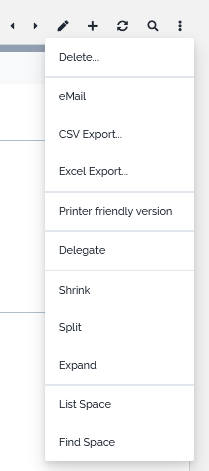
Next to standard actions, a set of specific actions can be applied to subnet blocks. These can be found in the Other Actions menu available from the details page.
These specific actions are described in below chapters.
Delegate
A block belonging to an organization can be delegated to another organization. This can only be done if the block already exists. Delegation is not available at creation time. Conditions to delegate a subnet block are:
- The block does not contain any child block nor subnet,
- The block does not collide with any other subnet block already created in the target organization.
By default, a block can only be delegated to a child organization. However, this restriction can be lifted by the Delegate blocks to children organizations only parameter defined in the Global IP Settings.
In order to delegate a subnet block, click on the Delegate action of the Other Actions menu. The following display appears:
If all delegation conditions are met, subnet block is effectively delegated once the Apply button is pressed.
Un-Delegate
A delegated block can be returned to its original owner organization with the Un-delegate action. Condition to remove a delegation on a subnet block is that the block doesn't contain any child block nor subnet.
In order to un-delegate a subnet block, just click on the Un-delegate action of the Other Actions menu. If above condition is met, delegation will be removed straight away.
Shrink
The Shrink action available from the Other Actions menu allows you to reduce the size of a subnet block. When selected, the following page is displayed:
The 3 first lines recall the main characteristics of the subnet block. Other lines list the attributes that can be changed:
| Name | Type | Mandatory? |
|---|---|---|
| Requestor | Foreign key to a(n) Person | No |
| New First IP of Block | IPv4 or IPv6 Address | Yes |
| New Last IP of Block | IPv4 or IPv6 Address | Yes |
The rules used at creation time apply here as well. On top of them, the shrink action follows its own set of rules:
- New subnet block must be strictly contained within the border of the current subnet block.
- One or several child subnet blocks can be dropped during the operation. In that case, the child blocks will be attached to a new parent block or to no parent if none exists.
- One or several subnets can be dropped during the operation. However, this may happen only if these ssubnets can be attached to an existing parent block as orphean subnets are not allowed in TeemIp.
- The change won’t be applied if a child subnet block or a subnet contained within the block sits across the new borders of the subnet block.
- A delegated block cannot be shrunk.
Split
The Split action available from the Other Actions menu allows you to split a subnet block into 2 blocks. When selected, the following page is displayed:
The 3 first lines recall the main characteristics of the subnet block. Other lines list the attributes that can be changed:
| Name | Type | Mandatory? |
|---|---|---|
| Requestor | Foreign key to a(n) Person | No |
| First IP of new Subnet Block | IPv4 or IPv6 Address | Yes |
| Name of new Subnet Block | Alphanumeric string | Yes |
The rules used at creation time apply here as well. On top of them, the split action follows its own set of rules:
- The change won’t be applied if a child subnet block or a subnet contained within the block sits across the new borders of the two subnet blocks.
- A delegated block cannot be split.
Expand
The Expand action available from the Other Actions menu allows you to increase the size of a subnet block. When selected, the following page is displayed:
The 3 first lines recall the main characteristics of the subnet block. Other lines list the attributes that can be changed:
| Name | Type | Mandatory? |
|---|---|---|
| Requestor | Foreign key to a(n) Person | No |
| New First IP of Block | IPv4 or IPv6 Address | Yes |
| New Last IP of Block | IPv4 or IPv6 Address | Yes |
The rules used at creation time apply here as well. On top of them, the expand action follows its own set of rules:
- New first IP must be smaller than the current first IP of subnet block
- New last IP must be higher than the current last IP of subnet block
- All subnet blocks contained within the expanded block will be absorbed by it.
- The change won’t be applied if an existing subnet block or a subnet has conflicting borders with the new expanded block (i.e. is not fully contained or fully outside the new expanded block).
- A delegated block cannot be expanded.
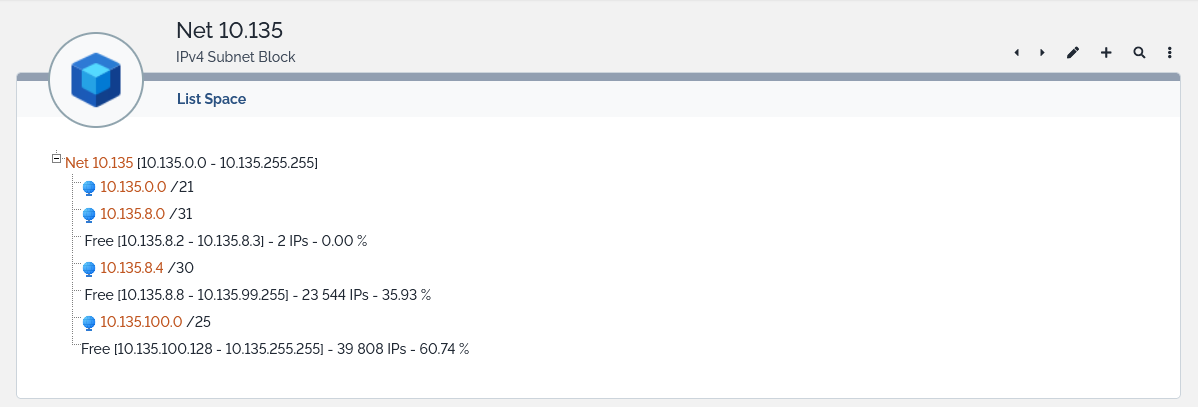
List Space
The List Space action available from the Other Actions menu will simply list, in numerical order, the child subnet blocks and subnets contained within the subnet block. It will list as well the free spaces contained between the child objects with information on their size.
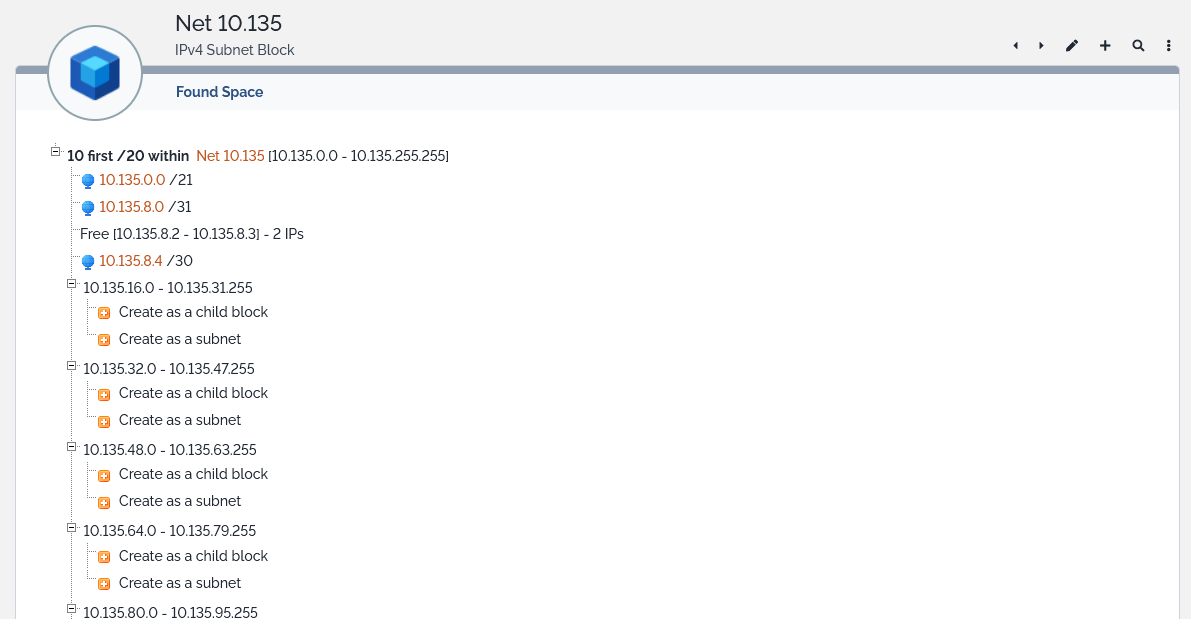
Find Space
This Find Space action available from the Other Actions menu helps IP administrator to find free space of a given size within a subnet block and to allocate it if required. When selected, the following page is displayed:
This screen allows you to select the size of the free space that you are looking for and the maximum number of offers that you want to receive. Note that only CIDR aligned space can be searched within a subnet block.
Once parameters are chosen, hitting the Apply button will trigger the search action. The result is then displayed in a list format:
All ranges offered can be transformed into a subnet block or a subnet. By clicking the appropriate  , you’ll open a window where you’ll be able to create the requested object. If you don’t wish to proceed, the top right menus will lead you to your next page.
Use cases
Internet Provider - Delegate Space to your customers
Not only TeemIp offers the possibility to document the space that a Regional Internet Registry has given to your organisation but it provides to Internet Providers (called as well Local Internet Registries) an easy way to delegate part of that space to their customers. This can be done in very few steps. Let's see how:
1. Document RIR space
2. Find and allocate space
Through the Find Space action (and through that ation only), look for the space you need in the block and assign it directly to a customer organization. Note that in a RIR block, subnet blocks can be allocated but no subnet.
3. Block and subnets are created
At creation time, the new block is set with LIR Origin and a child subnet of the same size of the block is created. This subnet belongs to the customer organization and can therefore be managed by its members.
- Minimum size of IP Subnet blocks may need to be lowered below 256 IPs,
- IPv4 Subnet blocks have to be CIDR aligned so that child subnet can be created at the same time,
- It may be needed to allow delegation to all organizations and not to children organization only.
